By Nicholas Demel
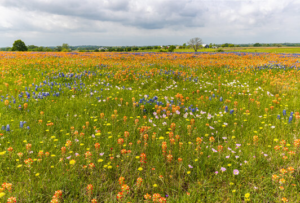
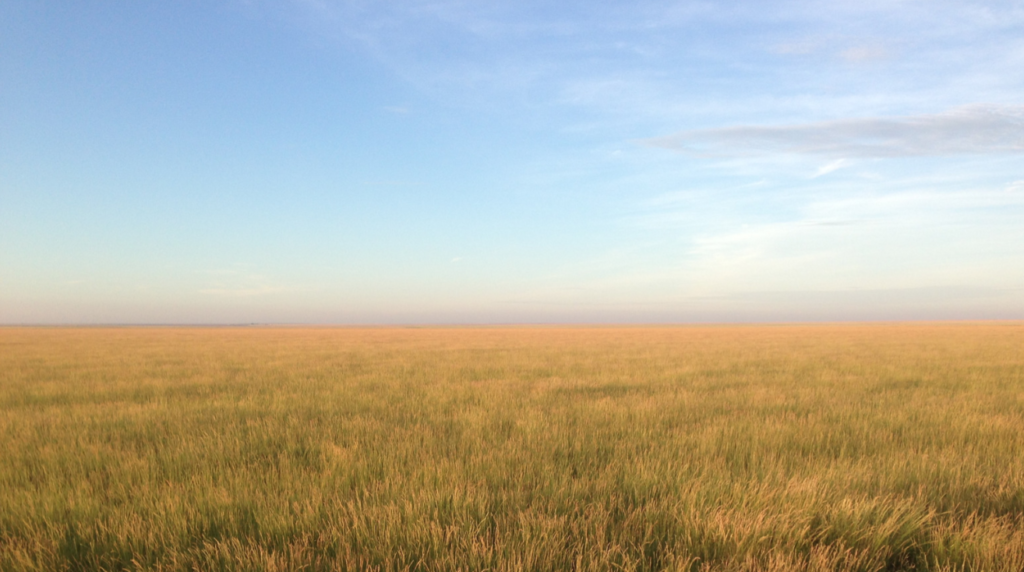
It is difficult to overstate the many benefits that come from seeding and establishing native plant species. These species protect soil and prevent erosion, strengthen a local ecosystem by creating a natural habitat for wildlife and insects, and provide a constant food source for wildlife and livestock (whether foliage or seeds).
While understanding the value of native species is important, it is also critical that the right approach be taken to seed and establish those species. The desired goal is recurring growth that becomes stronger and healthier year after year. With that in mind, we have outlined our professional guide to seeding and establishing native plant species. e
This approach is three-pronged and will offer you the best results possible. We have also offered guidelines on seeding native species as well as controlling weeds and irrigation and fertilization.
Seeding And Establishing Native Species: A Three-Step Planting Approach
It is important to note that ground disturbance that comes from seeding native species will promote weed growth. Because of this, it is imperative that proper precautions and treatments be understood and implemented to prevent and control weeds. Without a plan to address and combat weed pressure, the likelihood of a successful native plant stand is minimal.
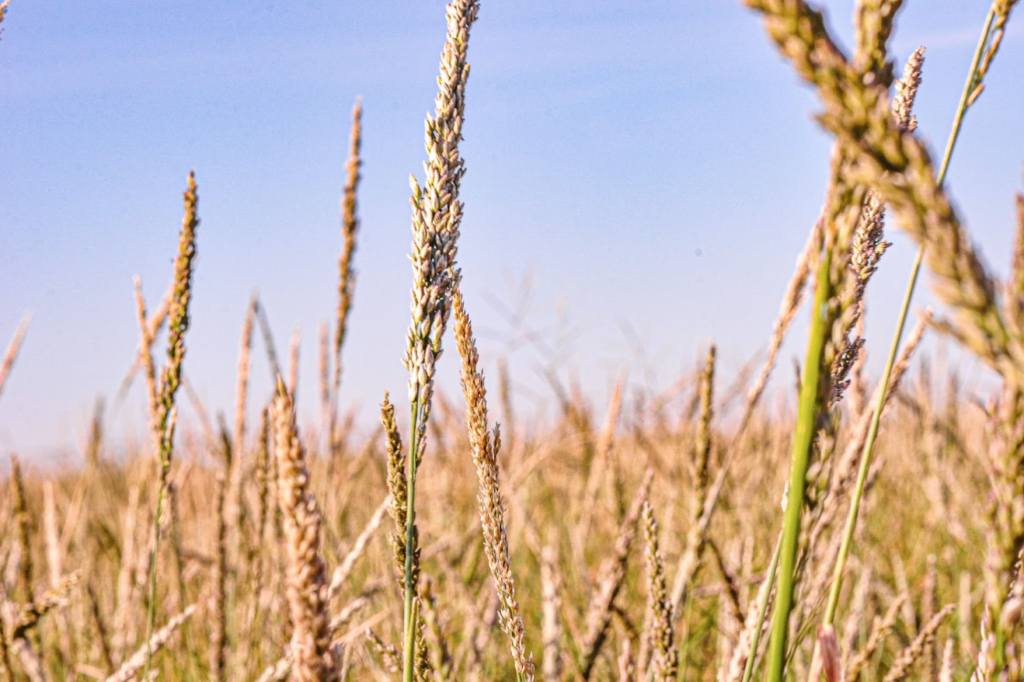
1st Planting: Cover Crop
Before any of your native seed ever enters the ground, you need to plant a cover crop. Cover crops, such as wheat, rye, oats, sorghum, or a blend of multiple species allow for a window of opportunity to eliminate future weed pressure. This is done by allowing the bank of weed seeds in the soil to germinate and then applying appropriate herbicide(s) to terminate the weeds.
The timing of the cover crop planting is based on the cover crop species being planted. Choose species that are suitable to your desired planting window. Prior to planting the cover crop, terminate all vegetation with glyphosate. After terminating all weeds and existing vegetation, the cover crop will provide standing residue to plant the native species into. In non-droughty conditions, it is recommended to terminate the cover crop with glyphosate when the cover crop is beginning to set seed.
Alternatively, if planting a cover crop isn’t an option, fallowing the area for one growing season prior to planting the native species is an option. Disking the area during the fallow period is recommended as long as the risk of erosion is not increased in doing so. The goal during the fallow period is to attempt to germinate as many weed seeds as possible, then chemically terminate the weeds. By doing so, you reduce the weed seed bank present in the soil bed. This method allows for a “sterile” seed bed to be created and therefore reduces weedy competition. Once a “sterile” seed bed is created, the native species may be planted.
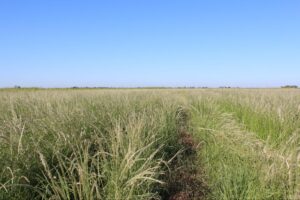
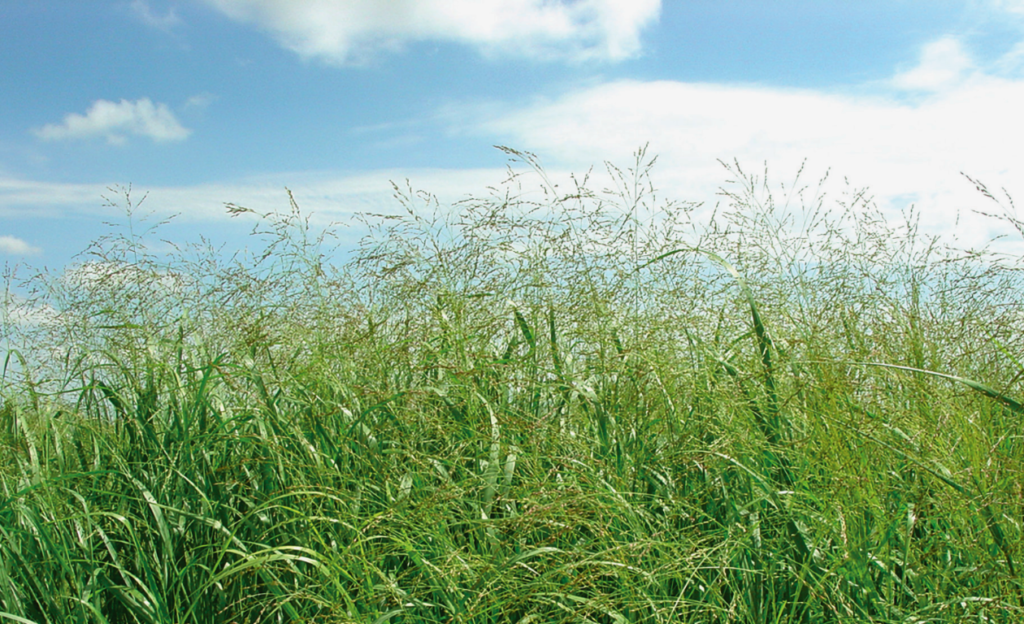
2nd Planting: Grass
Once the cover crop is terminated, the native grass species may be planted into the standing cover crop residue. In a situation where high weed pressure is anticipated, it is recommended to plant only grass. This practice will allow for the chemical treatment of broadleaf weeds during establishment. Grass can be planted at the same time as forbs and legumes if there are strong indicators that weed pressure will be minimal. If any weeds are present at the time of seeding, glyphosate can again be used to terminate them.
Grass species may be planted on irrigated sites when the soil temperature reaches 60°F. Dryland areas can be seeded from December through August. Successful dryland stands are possible with two or three timely rains. With this in mind, plant prior to your area’s most consistent rainfall period with suitable temperatures for seed germination. Planting the forbs/legumes at a later date allows for broadleaf weeds to be chemically controlled in the establishing grass.
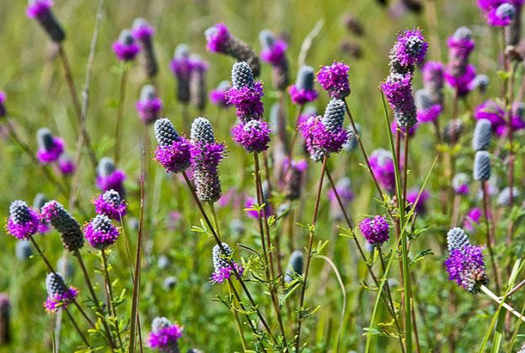
3rd Planting: Forbs and Legumes
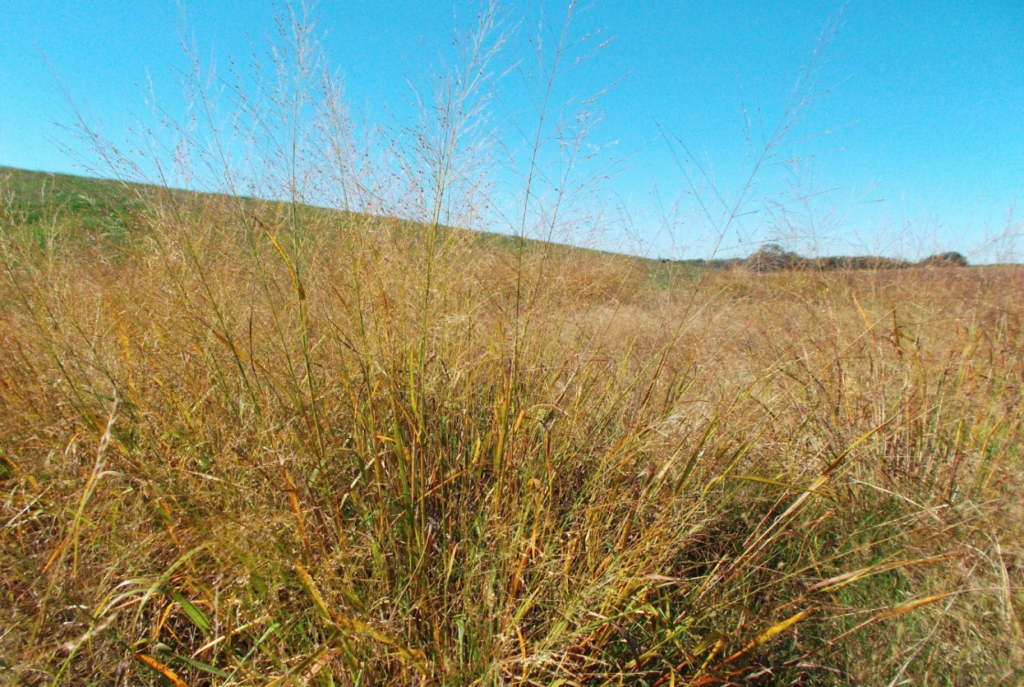
After the native grass is successfully established and the weed pressure is controlled, forbs and legumes may be planted. Forbs are broadleaf flowering plants and legumes are nitrogen-fixing broadleaf plants such as alfalfa or clover. Planting forbs and legumes alongside native grasses result in a diversity of species that provides maximum strength and longevity.
To provide the newly planted forbs and legumes with the greatest chance of success, shred the newly seeded area to a height of 4-6 inches. Because the seeding rate of forbs and legumes alone is usually very light, a no-germ filler may be used to increase the overall seeding rate. Alternatively, the forb/legume rate may be increased to obtain a manageable seeding rate, and the seed sown in strips throughout the grass stand.
Seeding Native Plant Species
When seeding native plants, the two main options are drill and broadcast seeding. Below, we outline both along with important things to consider.
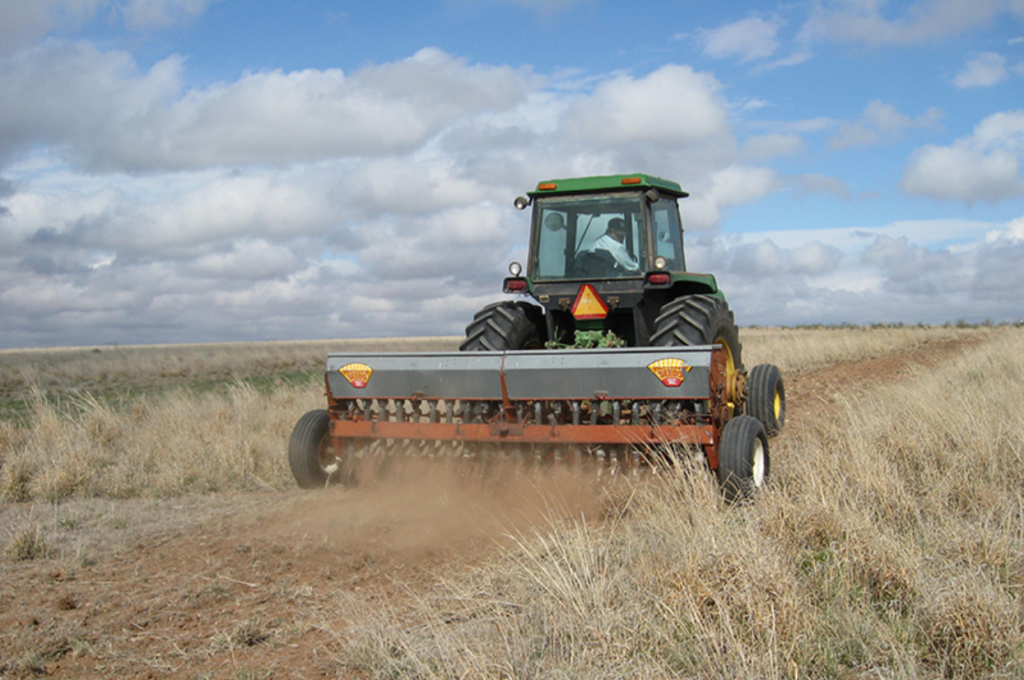
Drill Seeding
Drill seeding into a cover crop is most recommended. If there is an instance when a cover crop is not an option, then it is recommended to chemically terminate existing vegetation before drill seeding the native species. If this is the option you are required to take, you need to provide ample time for all weeds to wither.
When planting all native species, it is important to place the seed under the soil surface at a depth sufficient to ensure adequate moisture and seed-to-soil contact for seedling germination. If possible, irrigate after planting.
Wondering which drill to choose?
- A drill capable of planting fescue or wheat can be used to plant Buffalograss, Switchgrass, and other slick-seed native species. Depth bands on the opening disks are required in order to maintain the required 1⁄4 to 1⁄2 inch seeding depth.
A native grass drill will be required for chaffy species such as Big bluestem, Little bluestem, Blue grama, etc. Depth bands on the opening disks are required in order to maintain the required 1⁄4 to 1⁄2 inch seeding depth.
Broadcast Seeding
If choosing to broadcast, it’s most recommended that you do so into a cover crop. If you have a circumstance where a cover crop is not possible, then disk or till the soil 4 inches deep to loosen the soil and terminate existing weeds. Once this is done, you can begin seeding.
Spread seed with a fertilizer spreader, commercial air fertilizer truck, or by hand.
Disk, harrow, or aerate 1 to 2 inches at an appropriate speed to cover the seed with soil 1⁄4 to 1⁄2 inch deep. Pack the soil with a cultipacker or roller to ensure adequate seed-to-soil contact exists for germination and successful stand establishment. Irrigate after planting if possible.
Controlling Weeds in Native Plant Stands
Weeds are a never-ending battle when planting and establishing native species. How you combat them will depend on which stage of planting you are in.
Pre-planting weed control
Prior to planting native grass, glyphosate can be used to control existing weeds and may eliminate the need for disking or tilling prior to planting. Because glyphosate is a broad-spectrum herbicide, it will terminate any actively growing plants and can also be used to terminate the cover crop.
Post-grass planting weed control
After the grass species have reached 4” tall or 6 leaves (not including forbs/legumes) it presents an excellent window of broadleaf weed control. Chemicals such as 2,4-D, Dicamba, or Banvel have the ability to control unwanted broadleaf weed species while your grass is establishing. Once the grass stand is established a pre-emergent herbicide such as trifluralin may be applied to prevent future broadleaf weed pressure. Follow label recommendations for chemical application rates and methods.
Post-Forb/Legume Weed Control
After the forbs and/or legumes have been seeded there is no ability to chemically control weeds at this point without damaging the forbs and/or legumes. Your weed control abilities now shift to mechanical methods such as shredding, mowing, hoeing, and/or individual plant removal. Once the plants are established a pre-emergent herbicide such as trifluralin may be applied to prevent future broadleaf weed pressure. Follow label recommendations for chemical application rates and methods.
Irrigating and Fertilizing Native Seeds
After planting, begin irrigation by filling the soil profile to field capacity and depending on weather conditions, water once or twice a day to maintain adequate moisture for a three-week period. After the seedlings have germinated and an acceptable seedling density has been achieved, water once or twice a week until the stand is fully established. At 65 degrees, most native species will germinate in 10-14 days.
Due to a potential increase in weed pressure, we do not recommend applying fertilizer at seeding. If a soil test has been conducted, apply post-establishment fertilizer at the recommended rate. In order to meet adequate establishment levels according to your soil test, phosphate and potassium can be applied. Nitrogen, however, should not be applied until after establishment, if at all.
Your Trusted Partner in Seeding and Establishing Native Species
While this guide is intended to help you successfully plant native species, we know firsthand how tumultuous planting can be. That’s why our team is committed to not just helping you buy pure, native seed but also seeing it to establishment. We have over 70 years of experience in this work, and we are here to share that experience with you.
Our specialists are available throughout the week, both virtually and in person at our store, and can walk you through any circumstance or question that might arise when planting your seed. Together, we can grow something better for today, and for generations to come.